VIII.7.26 Pompeii. House. Excavated 1765 and 1782.
(Strada del Tempio d’Iside 3, 4 and 5).
Part 1 Part
2 Part 3
Part 4 Part 5 Part 6
Part 7 Part 8
VIII.7.26 Pompeii. December
2018.
Looking
towards entrance doorway, on left, on south side of Via del Tempio d’Iside. Photo
courtesy of Aude Durand.
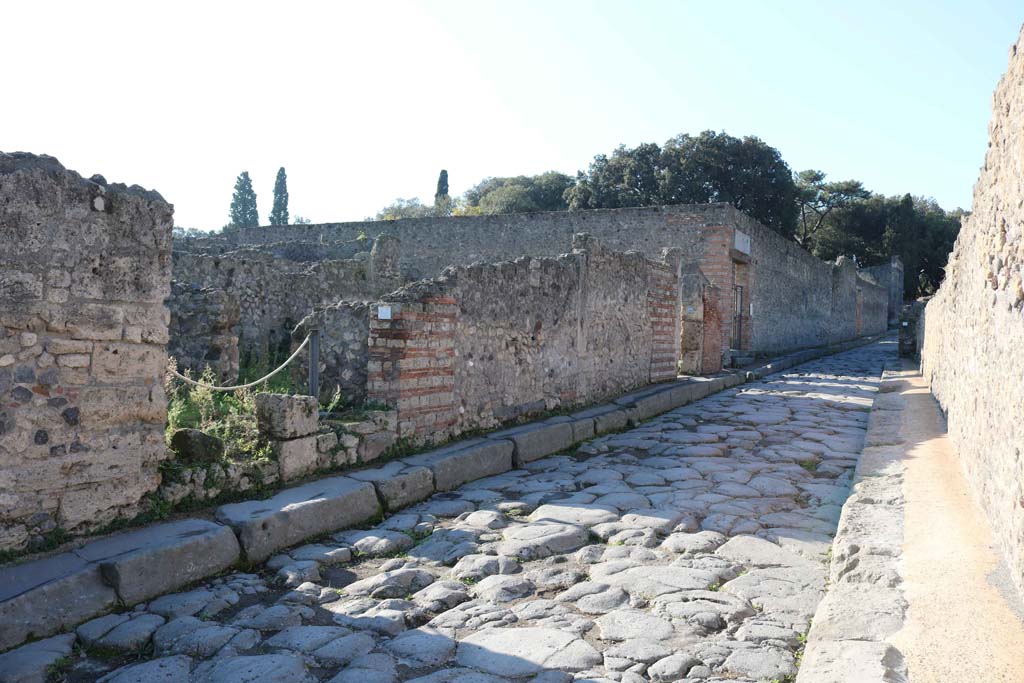
VIII.7.26 Pompeii. September 2010. Via del Tempio d'Iside looking west towards the republican baths.
Photo courtesy of Drew Baker.
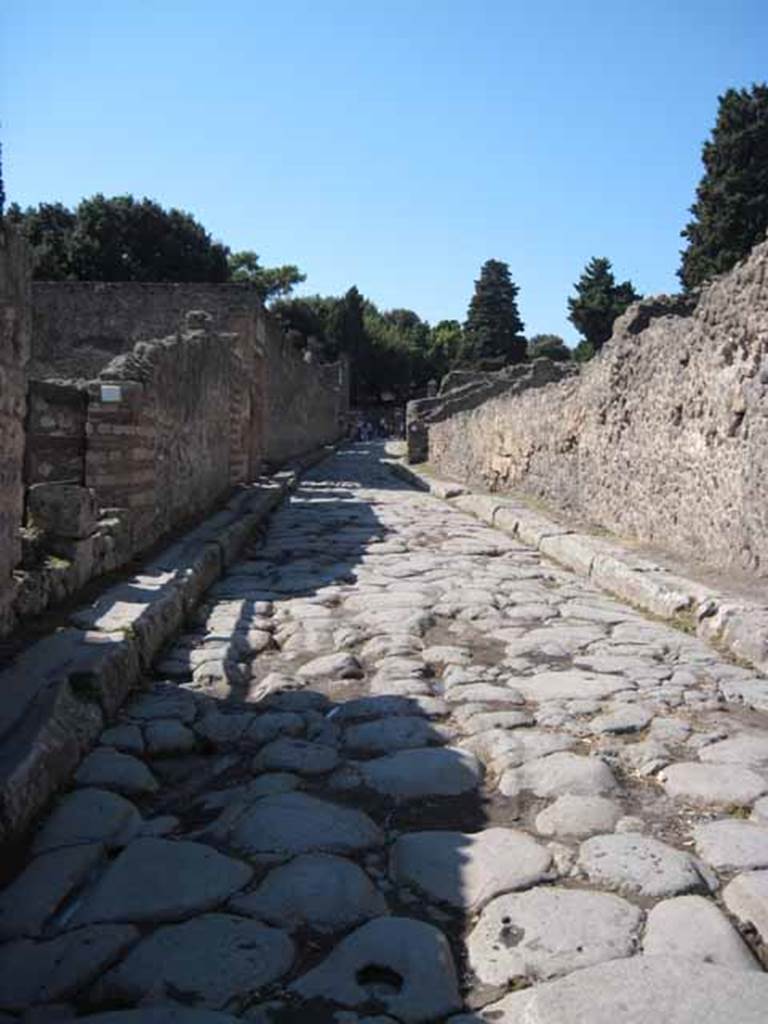
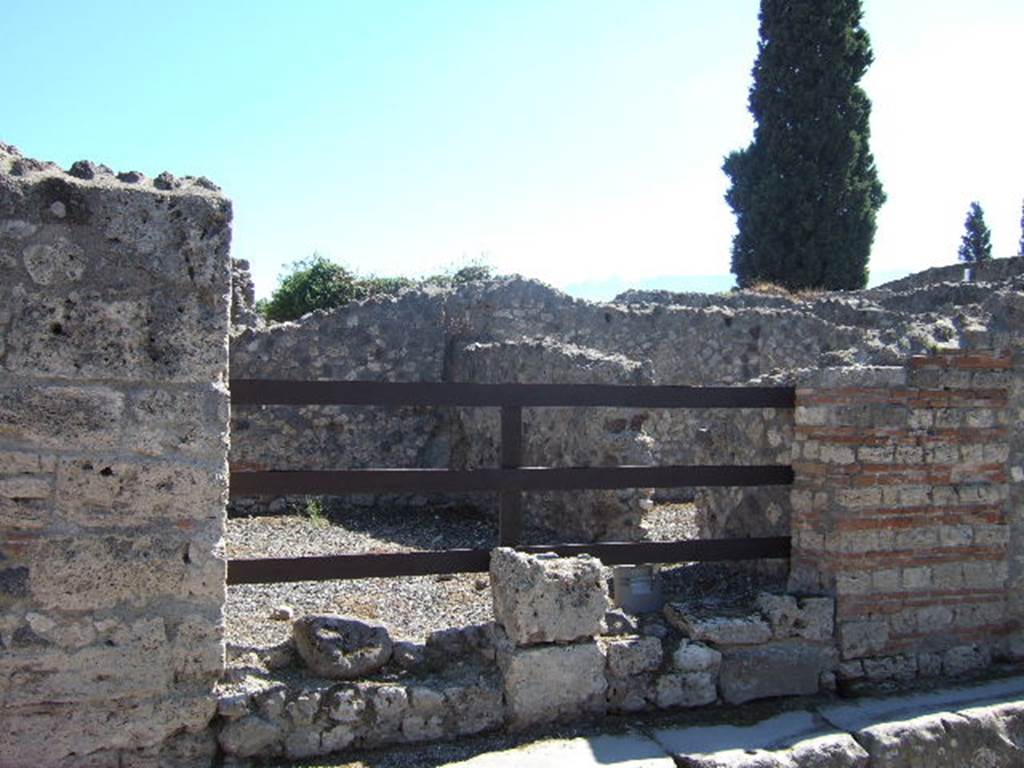
VIII.7.26 Pompeii. September 2010. Looking south towards first entrance on east side in north wall on Via del Tempio d'Iside.
Note this has a number plate of 25. (VIII.7.25 is the Temple to the south.) Photo courtesy of Drew Baker.
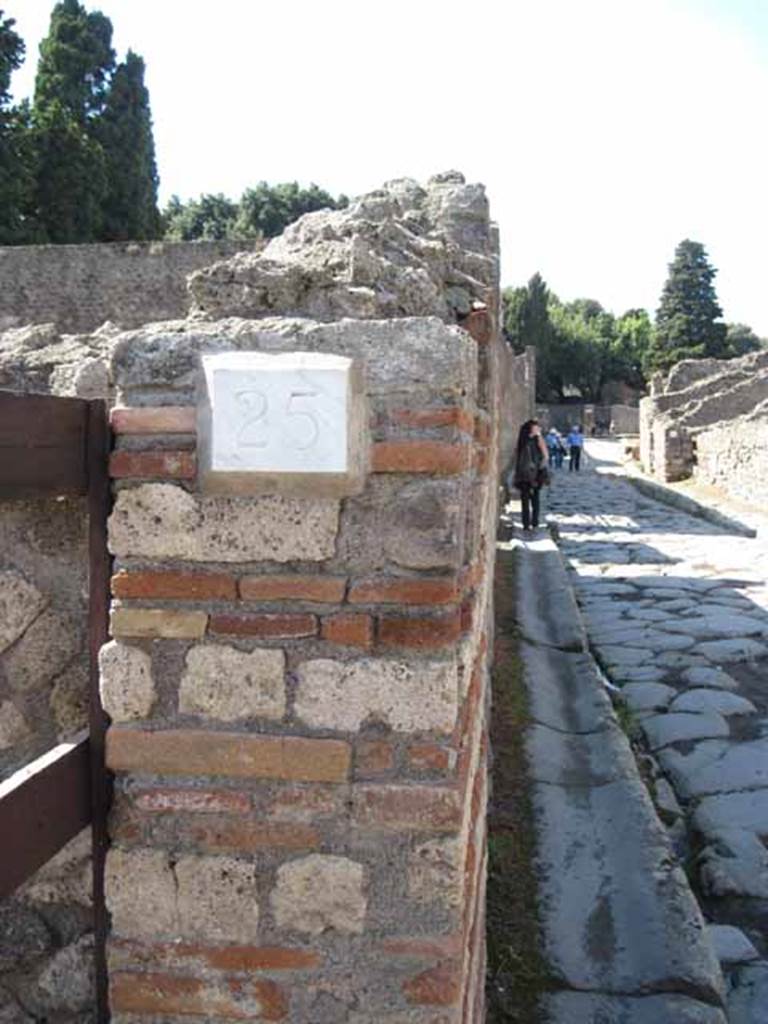
VIII.7.26 Pompeii. September 2010. ID Plate on west wall identifying entrance as 25, presumably an error.
Photo courtesy of Drew Baker.
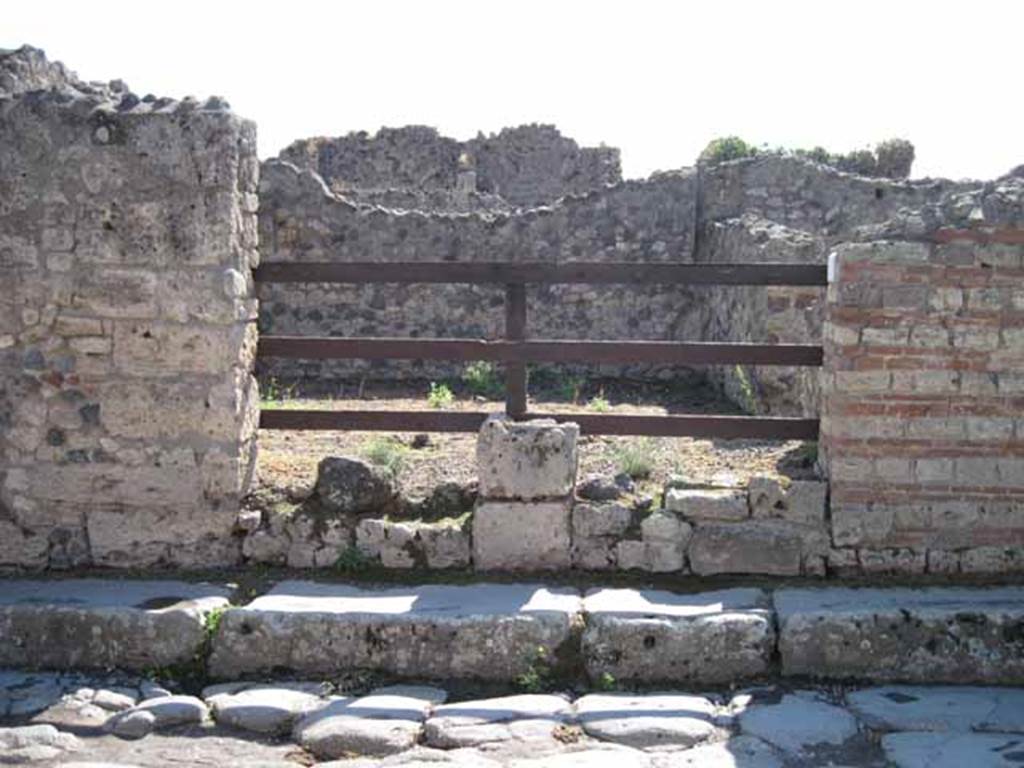
VIII.7.26 Pompeii. September 2005. Looking south-west towards first entrance on east side in north wall on Via del Tempio d'Iside.
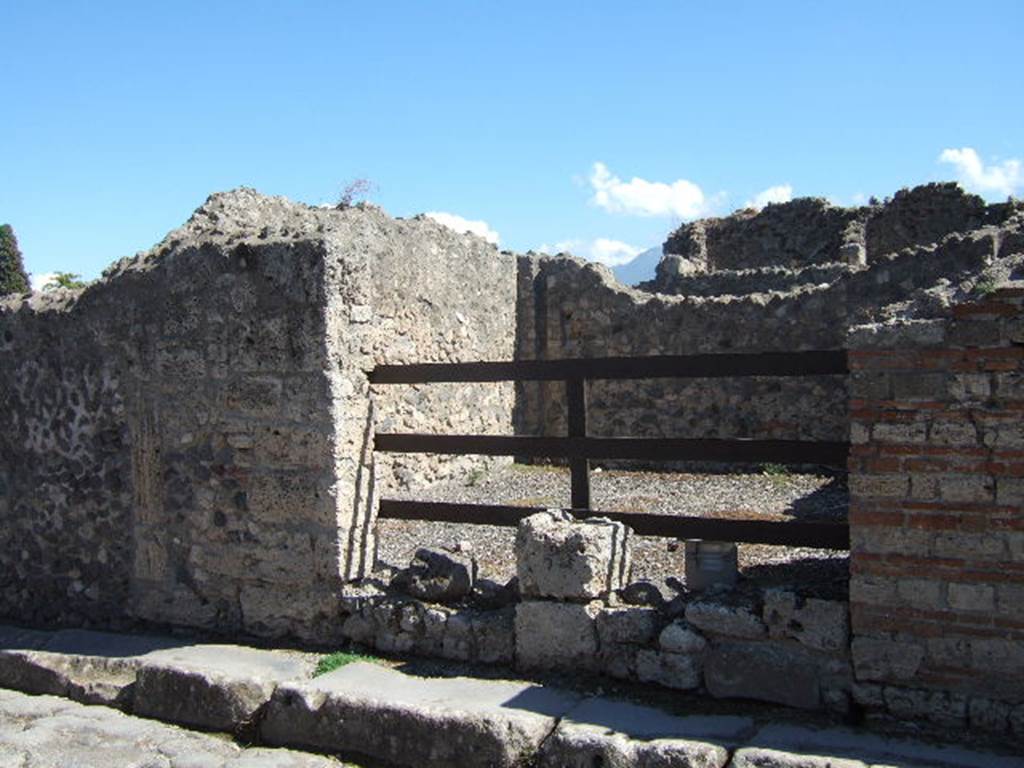
VIII.7.26 Pompeii. September 2005. Looking south-east towards first entrance on east side in north wall on Via del Tempio d'Iside.
VIII.7.26 Pompeii. September 2010. Looking north across first room on the east onto Via del Tempio d’Iside.
Photo courtesy of Drew Baker.
VIII.7.26 Pompeii. September 2010. East wall, looking east towards Via Stabiana. Photo courtesy of Drew Baker.
VIII.7.26 Pompeii. September 2010.
West wall with doorway to another two rooms and then followed by the entrance room with doorway of VIII.7.26.
Photo courtesy of Drew Baker.
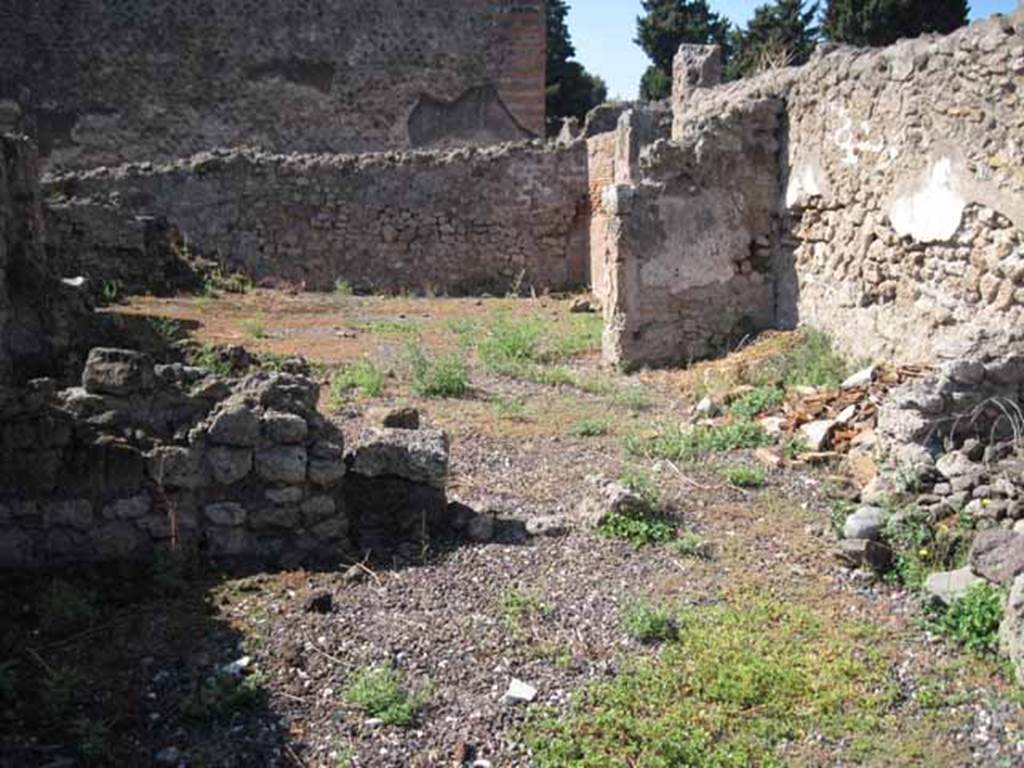
VIII.7.26 Pompeii. September 2010. Looking west across second eastern room. Photo courtesy of Drew Baker.
VIII.7.26 Pompeii. September 2010. Looking east through doorway into first room and towards Via Stabiana.
Photo courtesy of Drew Baker.
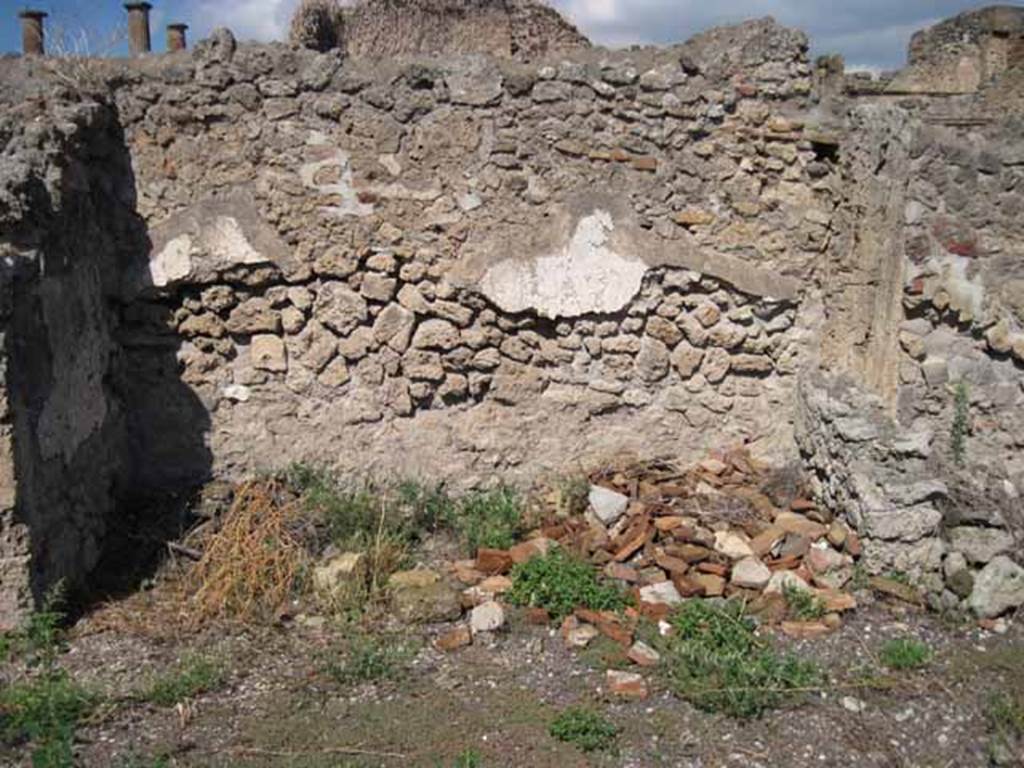
VIII.7.26 Pompeii. September 2010. South wall. Photo courtesy of Drew Baker.
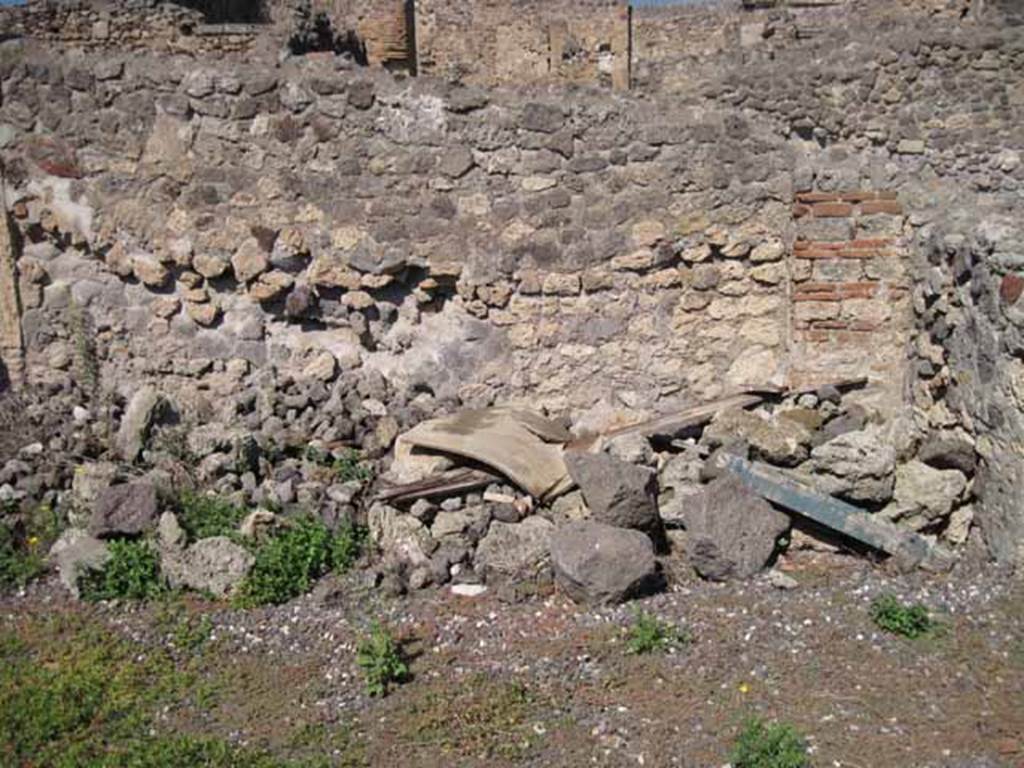
VIII.7.26 Pompeii. September 2010. North wall. Photo courtesy of Drew Baker.
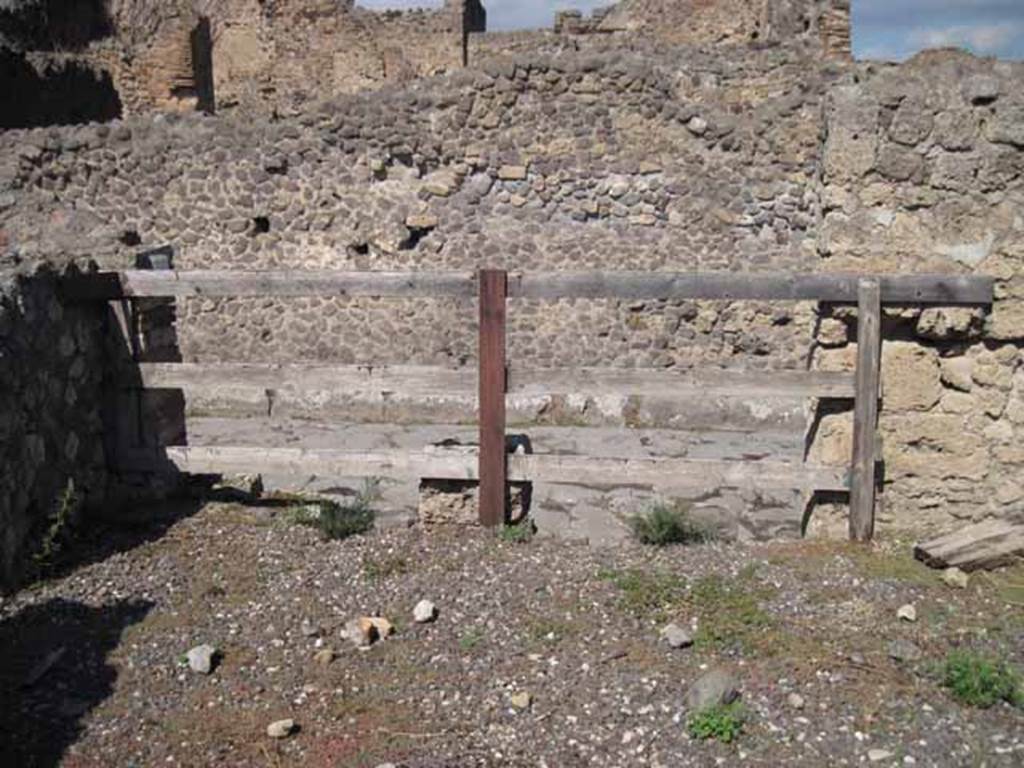
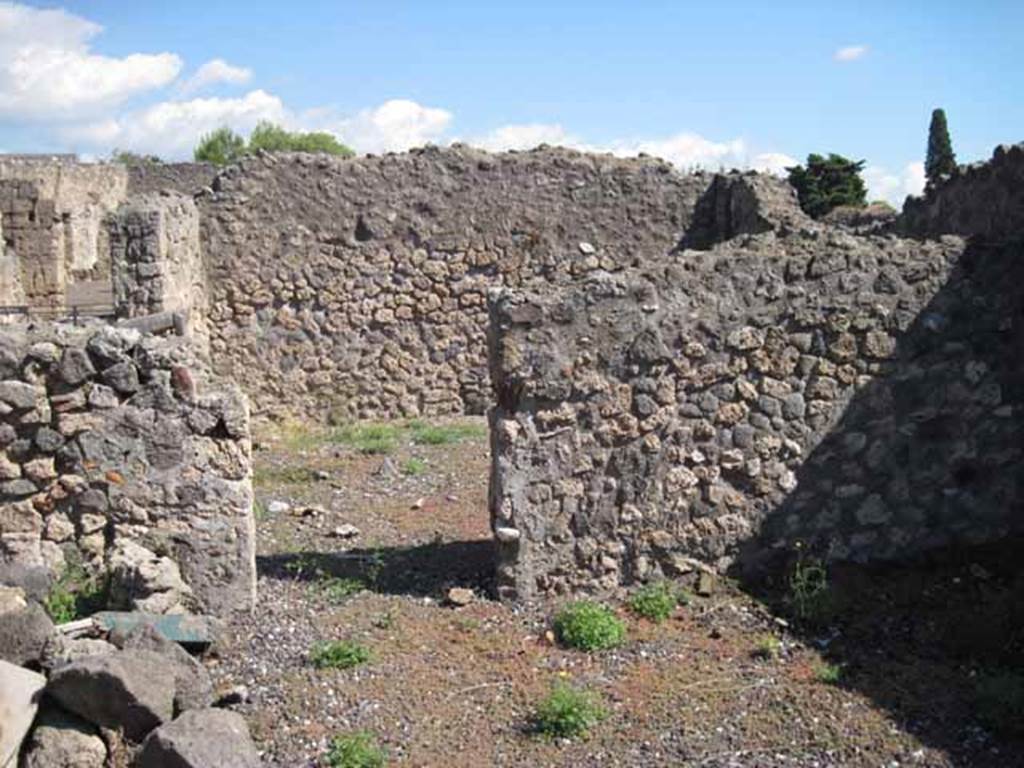
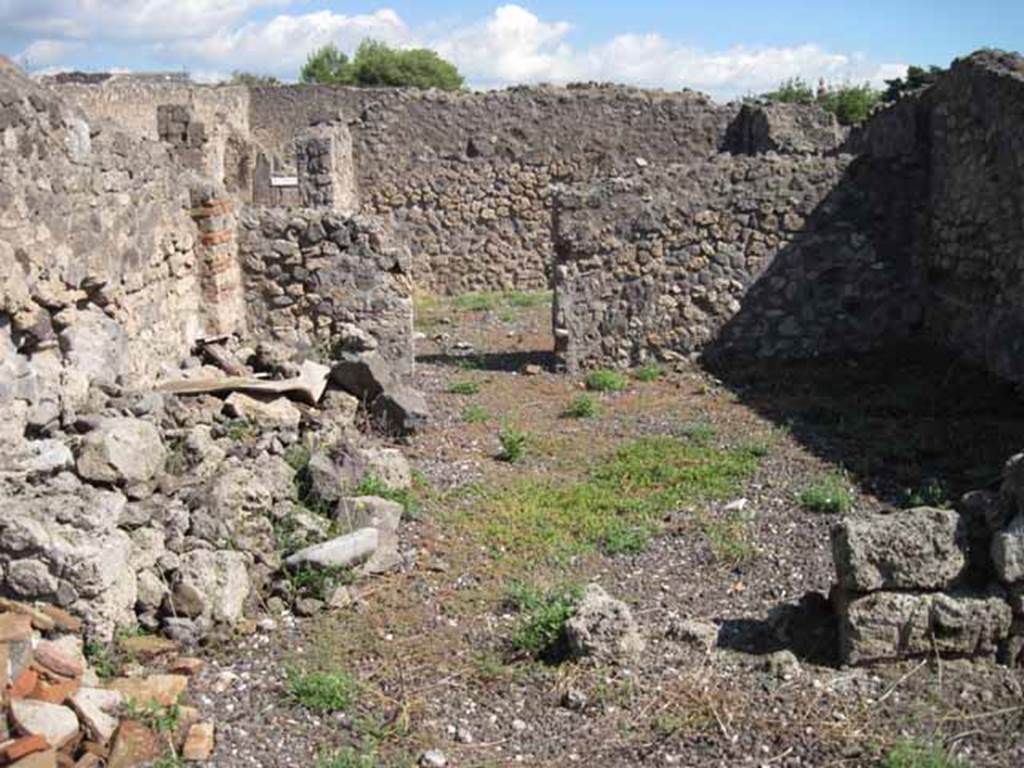
VIII.7.26 Pompeii. September 2010. Remains of west wall, looking west into third room, followed by room with entrance doorway.
Photo courtesy of Drew Baker.
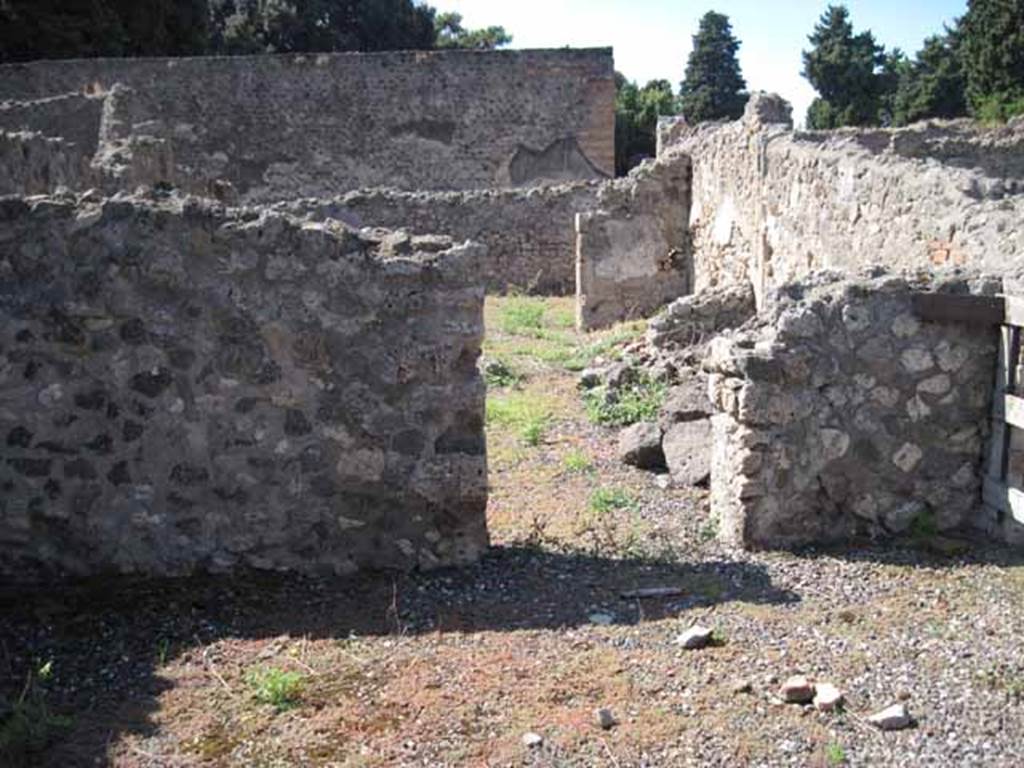
VIII.7.26 Pompeii. September 2010. Looking east across second and first rooms on east side, from third room.
Photo courtesy of Drew Baker.
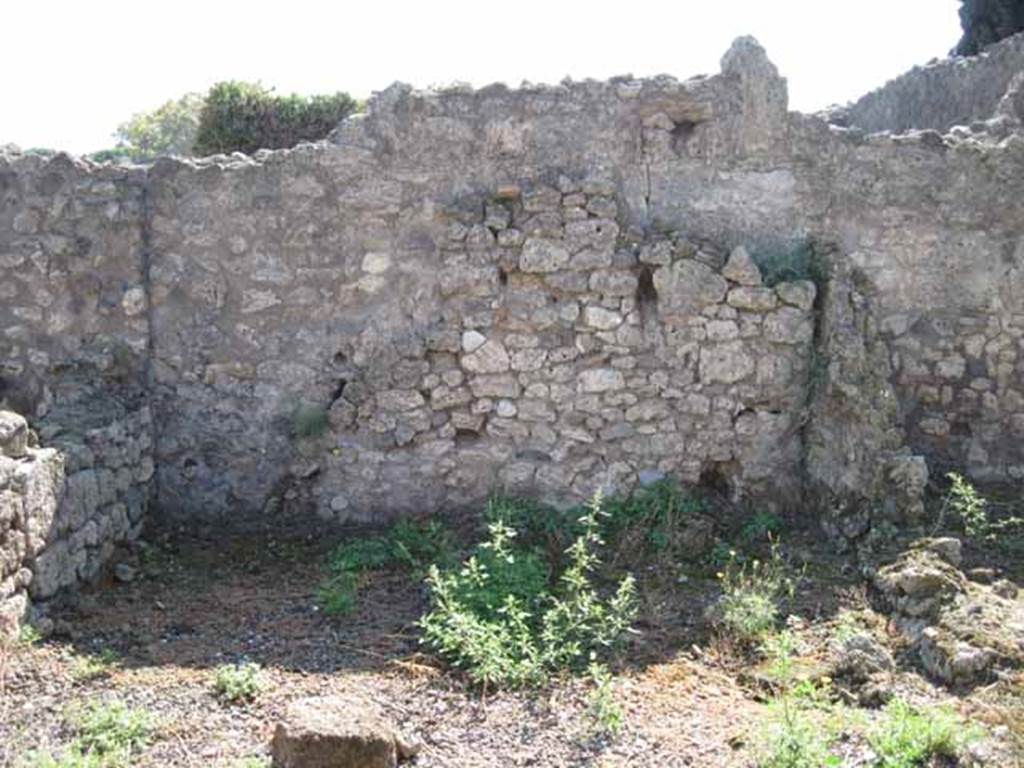
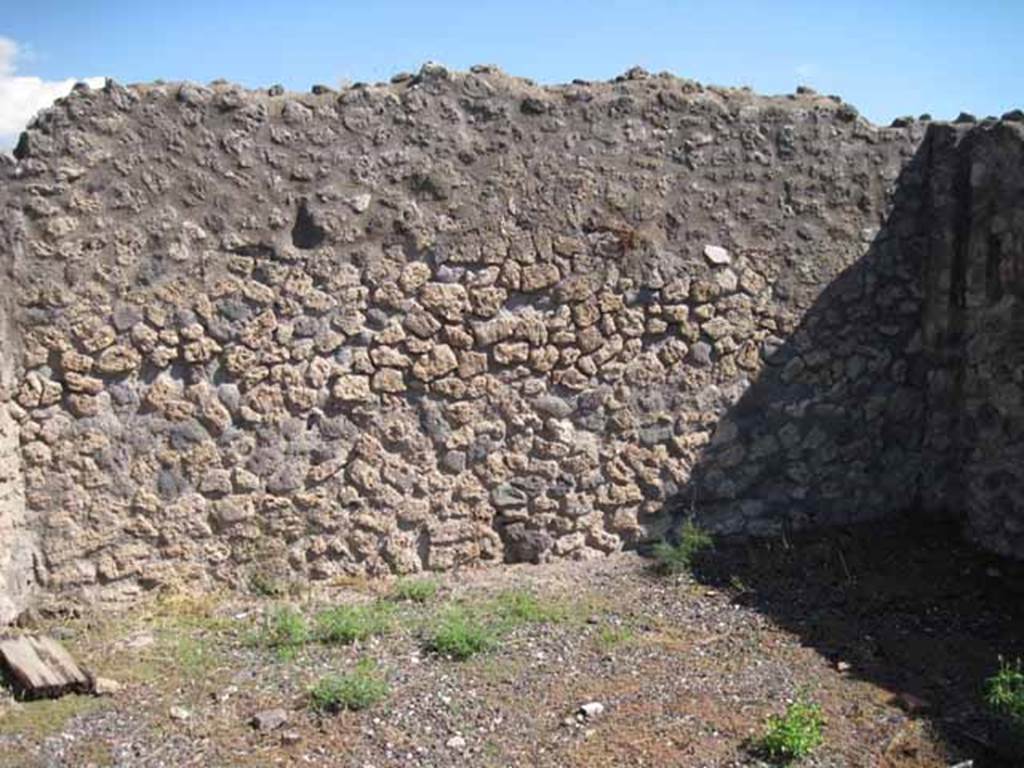
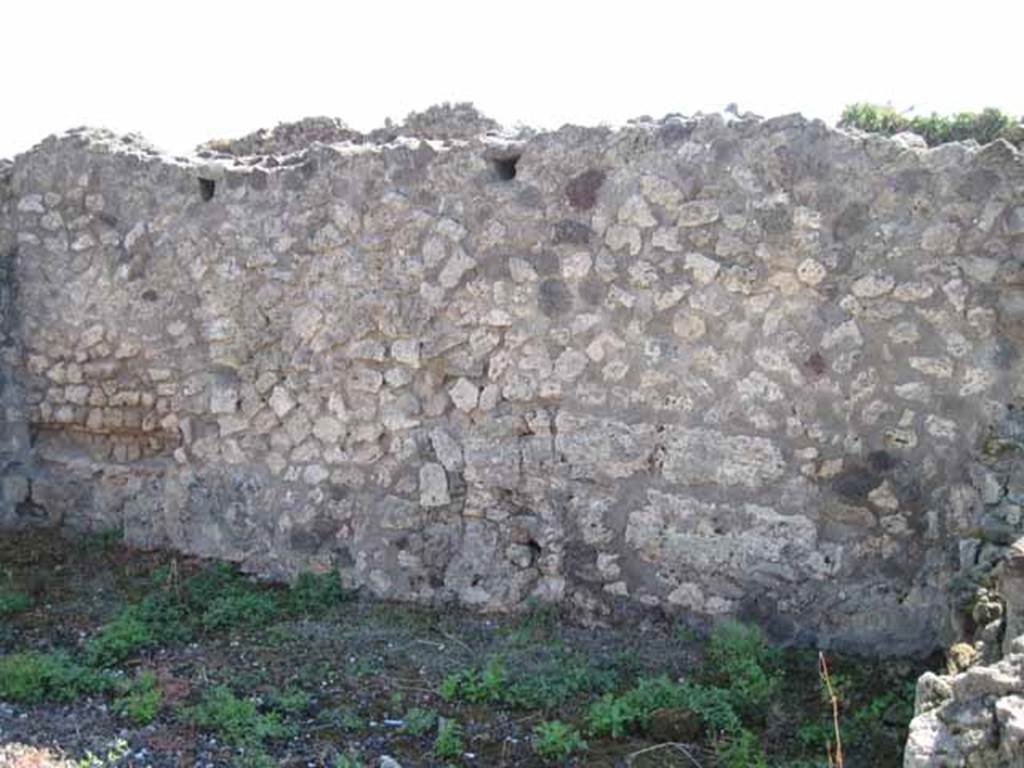
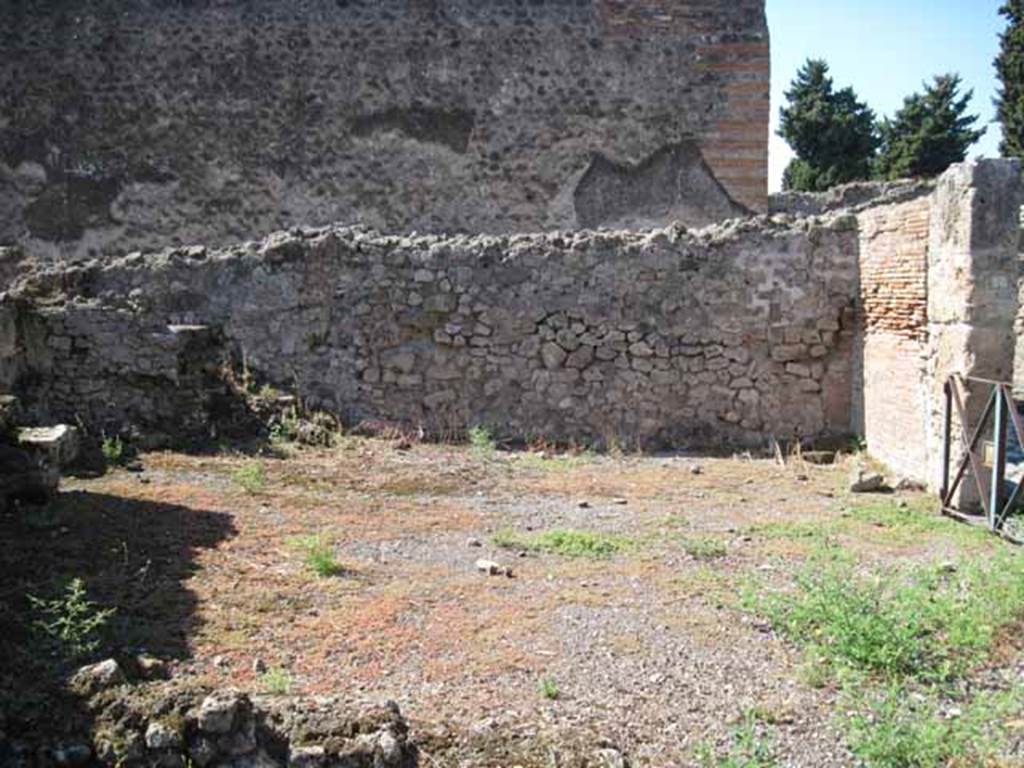
VIII.7.26 Pompeii. September 2010. South wall of third room. Photo courtesy of Drew Baker.
VIII.7.26 Pompeii. September 2010. North wall of third room. Photo courtesy of Drew Baker.
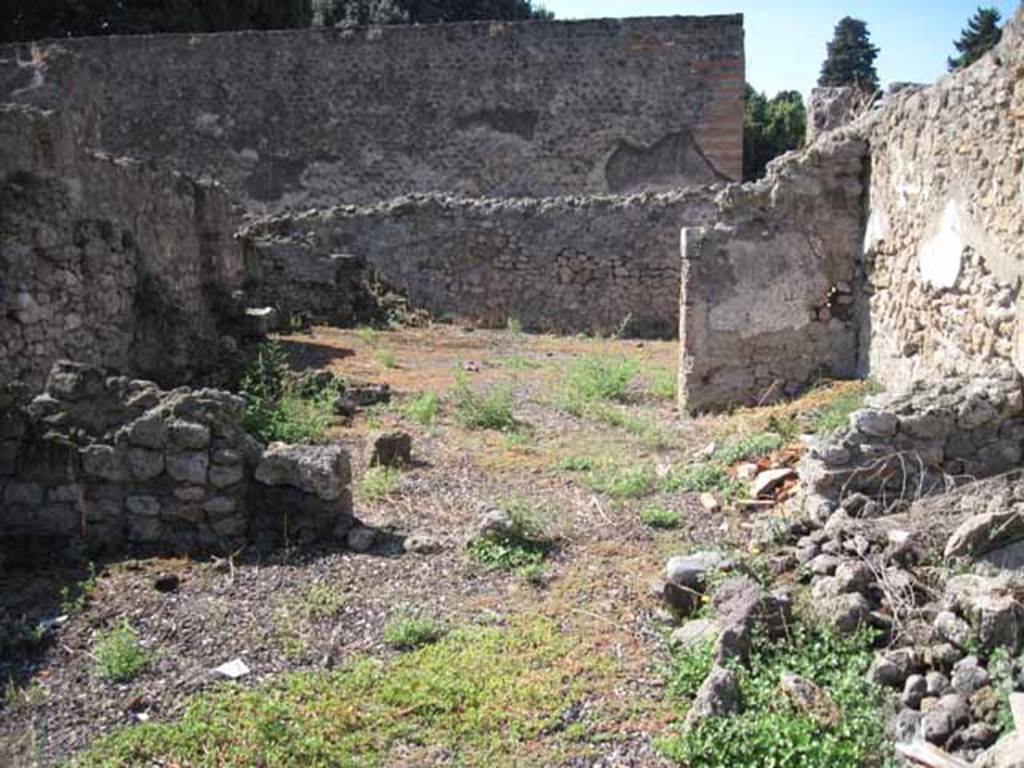
VIII.7.26 Pompeii. September 2010. Looking west into main entrance room from third room. Photo courtesy of Drew Baker.
Part 2 Part 3 Part 4 Part 5 Part 6 Part 7 Part 8